Installation Steps
- Home
- Installation Steps
Phase 01
Pre-Installation Preparation
Architectural precision begins before the material arrives. A clean workspace ensures the integrity of the translucent fabrics.
- Room must be thoroughly cleaned, dry, and dust-free to avoid debris settlement.
- Complete removal of all sensitive furniture and fixtures from the installation zone.
- Wooden box structure must be completed with a reflective white finish inside.
Phase 02
Install Perimeter Profiles
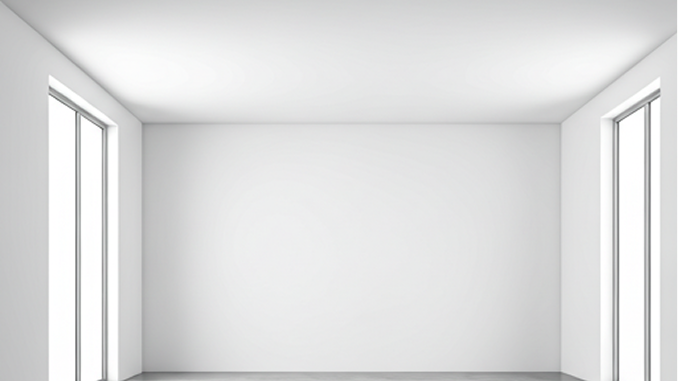
The backbone of the SkyStretch system. Aluminum tracks define the structural integrity and the final aesthetic plane.
Laser Alignment
Precise marking using industrial-grade laser lines for a level finish.
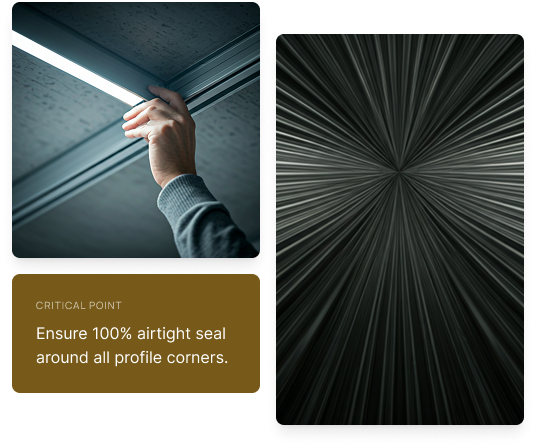
Joint Sealing
Cover joints with high-grade aluminum tape and apply airtight sealant.
PHASE 03
Install Lighting & Drivers
Master Wiring & Fixtures
Complete all internal wiring with industrial-grade fixtures. Our technicians test every circuit before the membrane is tensioned to guarantee uniform diffusion.
External Drivers
Position drivers outside the ceiling area within a 5m radius for heat management and maintenance access.
External Drivers
Position drivers outside the ceiling area within a 5m radius for heat management and maintenance access.
PHASE 04
Quality Check & Finishing
The difference between good and exceptional lies in the final 5%. Our quality assurance protocols ensure a flawless, mirror-like surface.
“Precision is not an accident; it is the
result of architectural discipline.”
04.1
Thermic Adjustments
We use specialized thermic tools to reheat and adjust any sagging areas. This creates the signature high-tension finish that SkyStretch is known for.
04.2
Microfiber Sanitization
Every installation is finalized with a specialized microfiber cleaning. We remove all static and invisible residue, leaving a pristine surface ready for handover.
04.3
Structural Certification
A final inspection for tightness, finish, and lighting uniformity. Once approved, the project is certified for architectural compliance.